
Stella Sora Derivative Damage: Stats and Build Guide
Build smarter with this Stella Sora derivative damage guide. Compare damage categories, DEF reduction, PEN, crit scaling, and resilience break bonuses.
Jump to
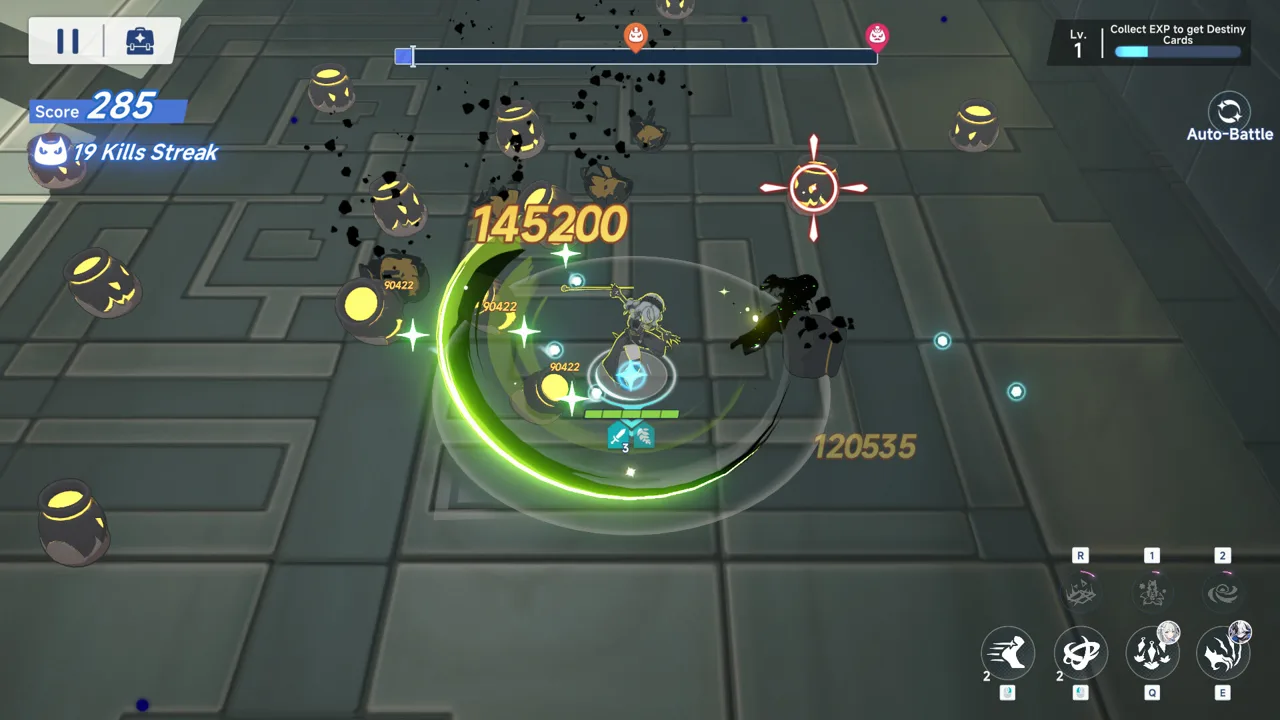
How to Build Around Stella Sora Derivative Damage
The wrong damage bonus can waste an otherwise promising build. For Stella Sora derivative damage builds, match your bonuses to the effect’s damage category and element so your upgrades strengthen the damage you want. Improve your Stella Sora derivative damage setup by checking those properties before comparing ATK, crit, penetration, and enemy debuffs.
The calculations below use the late-2025 damage model, covering November–December 2025. Its useful building blocks are separate damage categories, elemental modifiers, DEF mitigation, and resistance brackets.
Start with the effect you want to improve. Read its description, identify any stated damage category, and match your bonuses to that category.
| Damage category | Corresponding offensive modifier |
|---|---|
| Auto Attack | Auto Attack DMG |
| Skill | Skill DMG |
| Ultimate | Ultimate DMG |
| Other | Other DMG |
| Mark | Mark DMG |
| Projectile | Projectile DMG |
| Minion | Minion DMG |
These categories occupy the same category-specific position in the damage formula. Elemental damage has a separate position, covering Aqua, Ignis, Terra, Ventus, Lux, and Umbra.
Check both properties when evaluating an upgrade. A matching elemental bonus and a matching category bonus affect different factors in the calculation.
For a Stella Sora derivative damage build, choose category bonuses using the effect’s classification. Avoid assigning Skill DMG, Ultimate DMG, or Other DMG solely from the animation or the action that triggered it.
Official page: Stella Sora (stellasora.global)
Understand the Damage Formula Before Choosing Stats
The practical Stella Sora derivative damage question is which part of the calculation your next upgrade changes.
 Image: Steam / YOSTAR HONG KONG LIMITED
With unused terms removed, the late-2025 model multiplies ATK, the attack’s coefficient, applicable offensive bonuses, and enemy-side damage modifiers. Critical hits add their applicable crit multiplier.
A readable version is:
Damage = ATK × Skill Coefficient × Skill Intensity × Category DMG × Element DMG × Crit Multiplier × RES Multiplier × DEF Multiplier × Category DMG Taken × Element DMG Taken × Break Multiplier
“Skill coefficient” means the attack’s ATK scaling in this formula. Its presence does not assign the hit to the Skill damage category.
| Formula component | What it represents | What to check |
|---|---|---|
| ATK and coefficient | The attack’s starting damage | ATK scaling in the effect description |
| Skill intensity | A specific named-skill modifier | The exact skill receiving the increase |
| Category DMG | Auto Attack, Skill, Ultimate, Other, Mark, Projectile, or Minion bonus | The effect’s damage classification |
| Element DMG | The matching elemental modifier | The effect’s element |
| Crit multiplier | General and category-specific crit damage | Whether the evaluated hit is a qualifying critical hit |
| Enemy-side modifiers | DEF, RES, damage taken, and resilience-break factors | The target and its current state |
Separate named-skill bonuses from category bonuses
Skill intensity and Skill DMG are separate factors in this model. A modifier that strengthens a particular named skill belongs to a different part of the calculation from a category-wide damage bonus.
Examples of named-skill intensity modifiers include Precise Temperature Control, Nimble Catwalk, Energy Storage: Knot, Surge: Thunderbolt, Clan Clash Artistry, and Board Tricks.
Read the affected skill name before choosing one. Keep that distinction in mind when two upgrades both use language about increasing damage.
Compare critical hits consistently
For qualifying critical hits, general crit damage and category-specific crit damage are added together inside the crit factor. They are not two separate multipliers.
The crit branch in this model applies when the hit is critical and is not damage over time.
When comparing upgrades, compare critical hits with critical hits and ordinary hits with ordinary hits. Keep the target, category, and enemy state consistent too. Otherwise, a change in the displayed number can come from something other than the stat you changed.
Calculate What DEF Reduction Actually Adds
Enemy DEF reduces damage through its own multiplier. Reducing it improves that multiplier, so the percentage increase in your damage differs from the percentage reduction in enemy DEF.
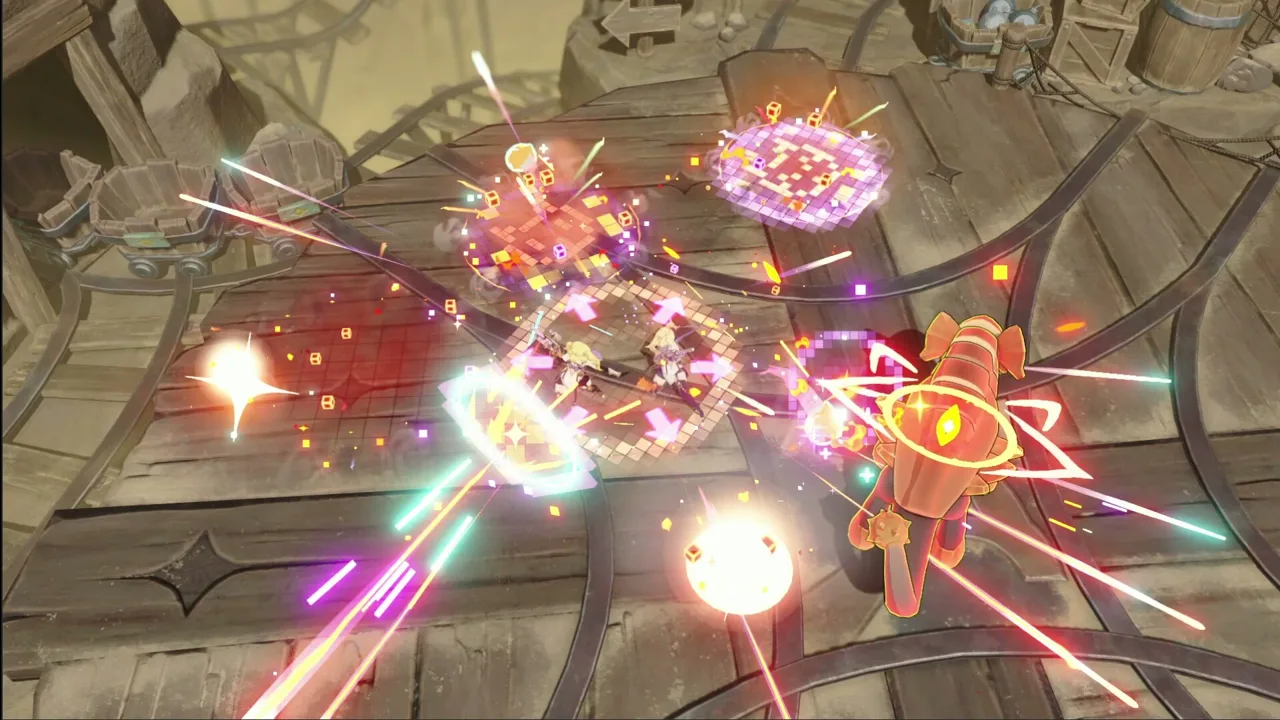 Image: Steam / YOSTAR HONG KONG LIMITED
The effective-defense calculation is:
Effective DEF = DEF × (1 − DEF Ignore) − DEF Penetration
DEF Ignore and DEF Penetration were unused terms in the late-2025 model. Its DEF damage multiplier is:
DEF Multiplier = 1 − (Effective DEF × 40) / (Effective DEF × 32 + 24000)
The following examples show why DEF debuffs deserve attention in a Stella Sora derivative damage setup.
| Enemy DEF | DEF damage multiplier | Damage increase versus 500 DEF |
|---|---|---|
| 500 | 0.5000 | Baseline |
| 350 | 0.6023 | 20.45% |
| 199 | 0.7379 | 47.57% |
In these examples, Corrosive Vines at level 6 reduces the starting 500 DEF to 350. Adding Root Grasp at level 6 brings it to 199.
At 500 DEF, the defensive multiplier allows half of the damage entering that stage through. At 350 DEF, the multiplier rises to approximately 0.60227272727. Relative to the original half, that is a 20.45% increase.
The 47.57% figure compares the combined debuffs against the original 500-DEF target. It is not an additional 47.57% increase after Corrosive Vines.
Use the same baseline when comparing alternatives. Divide the new multiplier by the old multiplier, subtract one, and convert the result to a percentage. That keeps a larger damage multiplier from being mistaken for an equally large percentage damage gain.
Match PEN to the Enemy’s Resistance Bracket
PEN changes effective elemental resistance. Its value depends on the enemy’s starting RES and where the resulting value lands.
 Image: Steam / YOSTAR HONG KONG LIMITED
The effective-resistance calculation is:
Effective RES = RES × (1 − IGNORING) − PEN
The IGNORING term was unused in the late-2025 model, leaving enemy RES minus PEN for these examples.
Positive effective RES uses three brackets: 0–250, 251–750, and 751–2000. Each bracket has its own curved calculation. PEN therefore does not produce one universal percentage increase.
| Effective RES | RES damage multiplier |
|---|---|
| 30 | 0.9964 |
| 140 | 0.9216 |
| 250 | 0.7500 |
| 350 | 0.6402 |
| 460 | 0.6061 |
| 570 | 0.5478 |
| 750 | 0.4000 |
| 2000 | 0.0100 |
These multipliers show how much damage passes through the resistance stage. A multiplier of 0.75 passes through more damage than a multiplier of 0.4.
Compare PEN against the correct starting point
In the 250-RES example, reducing effective RES to 140 raises the multiplier from 0.7500 to 0.9216. That produces 122.88% of the original damage through the resistance factor.
Reducing it again to 30 raises the multiplier to 0.9964. That produces approximately 108.11% of the damage of the 140-RES setup, or 132.85% of the damage of the original 250-RES setup.
The 570-RES example behaves differently. Dropping effective RES to 460 produces approximately 110.64% of the original damage. Reaching 350 produces approximately 116.85% of the damage of the original 570-RES setup.
For Stella Sora derivative damage comparisons, calculate the gain against the target you intend to fight. Reusing a PEN percentage from a different resistance bracket gives the wrong comparison.
Account for zero and negative effective RES
At effective RES of zero or below, the model uses a different calculation involving elemental vulnerability, labeled VUL.
With VUL at zero, the resistance multiplier is 1 throughout this nonpositive range. Further PEN does not increase that factor.
With VUL at 0.05 and effective RES at −60, the multiplier becomes 1.032, equivalent to a 3.2% increase over a multiplier of 1.
Check vulnerability alongside PEN when evaluating a setup that pushes effective RES below zero. Negative resistance follows different rules from the positive-resistance brackets.
Build Around Break Windows and Relevant Bonuses
Bring the separate factors together when refining a Stella Sora derivative damage build. Match the effect’s category and element, calculate the enemy’s mitigation, and keep resilience state consistent when comparing results.
Resilience introduces two distinct considerations: how quickly you cause a break and the damage multiplier applied after the enemy breaks.
| Mechanic | What it changes | Build consideration |
|---|---|---|
| Resilience Break Efficiency | How efficiently damage depletes resilience | Compare break speed separately from damage per hit |
| Resilience-break damage multiplier | Damage against an enemy whose resilience is broken | Compare hits taken during the same enemy state |
| Category-specific damage taken | Incoming damage of a matching category | Match the debuff to the effect’s classification |
| Element-specific damage taken | Incoming damage of a matching element | Match the debuff to the effect’s element |
In the late-2025 model, resilience-break damage is an enemy-side multiplier. The attacker’s ToughnessDamageAdjust attribute instead corresponds to Resilience Break Efficiency.
That distinction matters when comparing Trekkers. A character that breaks resilience faster does not automatically have a larger damage multiplier against an already broken enemy.
Keep those jobs separate when evaluating a team: reaching the break and dealing damage during it.
Use a focused upgrade checklist
Work through each candidate upgrade in this order:
- Check the affected effect. Match any named-skill bonus to the skill it strengthens.
- Check the damage category. Choose the corresponding category bonus.
- Check the element. Match elemental damage and elemental damage-taken effects.
- Calculate mitigation changes. Evaluate DEF reduction and PEN against the enemy’s actual values.
- Compare equivalent hits. Keep crit status and resilience state consistent.
For Stella Sora derivative damage, this keeps each comparison tied to a specific part of the formula.
Avoid ranking every upgrade by its displayed percentage alone. An ATK increase, a category bonus, a DEF debuff, and PEN change different parts of the calculation. Compare their resulting damage changes under the same conditions.
Also distinguish damage per hit from damage delivered over a fight. Resilience Break Efficiency changes how quickly you reach a break, while the break-state multiplier changes damage during that state. Evaluate each contribution for the encounter you are building around.
FAQ
Which stats should I check for Stella Sora derivative damage?
Check the effect’s damage category, element, ATK scaling, and applicable named-skill modifiers. Then evaluate crit, enemy DEF, effective RES, matching damage-taken debuffs, and resilience state.
Does PEN always give the same damage increase?
No. Positive effective RES uses separate brackets with curved calculations. Reducing effective RES from 250 to 140 produces 122.88% of the original damage through the resistance factor, while reducing it from 570 to 460 produces approximately 110.64% of the original damage.
How much damage does DEF reduction add?
In the late-2025 calculation, reducing DEF from 500 to 350 increases damage by approximately 20.45%. Reducing it from 500 to 199 increases damage by approximately 47.57%, with other factors held constant.
Is Resilience Break Efficiency the same as break damage?
No. Resilience Break Efficiency affects how efficiently you deplete the resilience bar. The resilience-break damage multiplier affects damage against the enemy after its resilience is broken.
Continue with
 Stella Sora Disc Guide: Skills, Notes, and Aqua BuildsBuild a stronger team with this Stella Sora disc guide covering main and support slots, Melody and Harmony skills, music notes, selectors, and Aqua setups.
More in Builds

Stella Sora Build Guide: Teams, Potentials, and Tips
Find your Stella Sora build with team lineups, key potentials, and combat tips for Eleanor, Chitose, Shia, Fuyuka, and Gerie. Choose your next upgrades.

Stella Sora Charge Efficiency: Build Better Ultimates
Master Stella Sora charge efficiency with Main and Support rates, Ultimate energy costs, and Fuyuka build tips. Plan better rotations and smarter Emblems.

Stella Sora Emblem Guide: Stat Priorities and Builds
Build a stronger Stella Sora emblem setup with stat priorities, level 70–90 unlocks, Terra team examples, and reroll tips to save rare Emblem Polishers.
Stella Sora Preset Guide: Import Codes and Team Builds
Find the right Stella Sora preset with import codes for Noya and Allie, build priorities, team comparisons, and practical tips for matching your roster.
Join the community
Official channels for news, updates and player help: