
Stella Sora Donna Guide: Builds, Teams, and Emblems
Build Stella Sora Donna for Aqua teams with key potentials, Teresa and Chitose setups, emblem priorities, and Runic Disc picks. Time her skills for damage.
Jump to
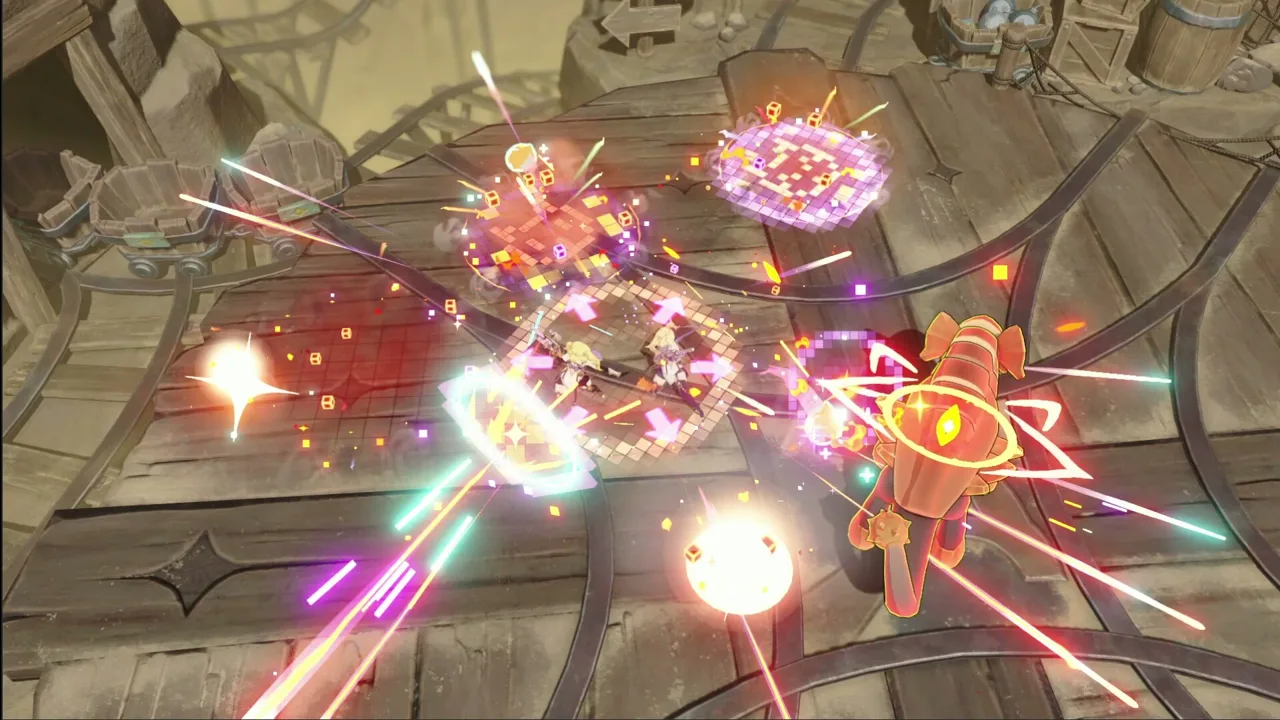
Who Is Donna in Stella Sora?
Stella Sora Donna brings serious damage to the support slot when her Aqua teammates and potential choices work together. Her combination of personal damage, buffs, and enemy debuffs makes team composition especially important. This Stella Sora Donna guide covers her backline builds, Teresa and Chitose teams, emblem priorities, and Runic Disc options.
Donna is the young leader of Post Haste, the postal service at the center of To My Dearest You. Her introduction in Version 1.8 brought a story about stolen letters and trouble for the delivery crew.
| Character detail | Donna |
|---|---|
| Rarity | ★5 |
| Element | Aqua |
| Unit type | Versatile |
| Organization | Post Haste |
| Introduction | Version 1.8 |
| Original recruitment banner | Heartfelt Messages, Delivered on Time |
| Associated ★5 Aqua Disc | Soaring Blue |
Donna’s strongest damage and supporting capabilities come from the backline. She contributes Aqua damage buffs, ATK buffs, and increased Aqua damage taken by enemies while dealing substantial damage herself.
That gives her a different investment pattern from a pure buffer. Her own damage potentials deserve attention, even when another Trekker occupies the main slot.
Her builds also depend heavily on element matching. The single-target route gains additional arrows for each Aqua teammate, while her dedicated area-damage route requires an entirely Aqua team. Build around those requirements before fine-tuning individual upgrades.
Her original recruitment banner belongs to her Version 1.8 debut. Check the recruitment screen for current availability rather than using that historical banner name as a live schedule.
Official page: Stella Sora (stellasora.global)
Stella Sora Donna Build: Potentials and Priorities
For a single-target backline build, start with Unleashed Arrow and Arrowfall Reckoning. This setup concentrates Donna’s damage while retaining the buffs and debuffs that help an Aqua team.
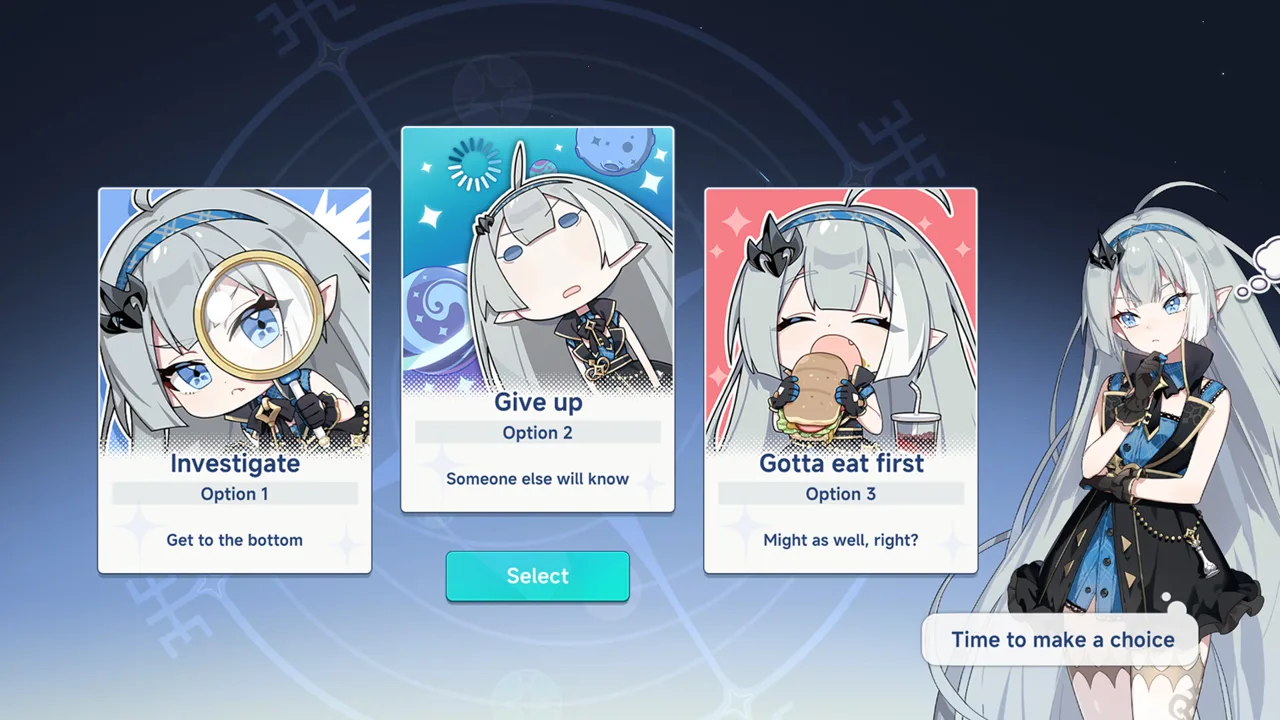 Image: Steam / YOSTAR HONG KONG LIMITED
The important interaction is Aquatic Assault plus Chilling Onslaught. One point in Chilling Onslaught adds a Frost Wave at the beginning of her skill, allowing Aquatic Assault’s buff to cover nearly the entire barrage.
| Potential | Priority or function |
|---|---|
| Unleashed Arrow | Core choice for the single-target build |
| Arrowfall Reckoning | Second core choice |
| Arrow Pursuit | High-value personal damage investment |
| Frostbitten Arrow | High-value choice; gains importance alongside a strong Freesia |
| Aquatic Assault | Strong Aqua damage buff, with additional value against multiple targets |
| Chilling Onslaught | Take one point to enable early Aquatic Assault coverage |
| Water Ripple | Strong additional investment |
| Messenger Arrow | Alternative when concentrating support on Chitose |
Take the enabling point in Chilling Onslaught when selecting Aquatic Assault. The timing matters: starting the buff early lets more of Donna’s attack benefit from it.
Against groups, position Donna to hit multiple enemies. Connecting with three targets lets her gain three Aquatic Assault stacks, increasing the buff’s value. This gives the single-target build a useful interaction with additional enemies without requiring a complete change of direction.
For the dedicated area-damage route, keep every team member Aqua. Dead Shot also has a use in Menace Arena for executing common monsters.
Adjusting the Build for Chitose
When building Stella Sora donna to support Chitose, choose whether to emphasize Chitose’s damage or maintain a dual-damage setup.
For the Chitose-focused option, take Messenger Arrow in place of the Aquatic Assault and Chilling Onslaught combination. For the dual-damage option, retain Donna’s personal damage investments.
The dual-damage setup has the stronger overall damage case in this pairing because many of Chitose’s additional potentials offer less value than investing in Donna. Avoid treating every Donna upgrade as a support-only decision.
Her talents follow the same logic. Without mark triggers, her first talent contributes base stats rather than its mark-related benefit. Her second and fifth talents are valuable because skill damage bonuses are relatively scarce in this team.
Aqua Teams: Teresa, Freesia, Iris, and Chitose
The central Stella Sora Donna team decision is who takes the main slot. Teresa can lead while Donna supplies backline damage, or Chitose can lead with Donna contributing both support and personal damage.
 Image: Steam / YOSTAR HONG KONG LIMITED
| Main Trekker | Support Trekkers | Team interaction |
|---|---|---|
| Teresa | Donna and Freesia | Donna deals backline damage; Freesia adds debuffs, crit rate, and conditional damage |
| Teresa | Donna and Iris | Iris contributes debuffs and an ATK buff that requires careful positioning |
| Chitose | Donna and Teresa | Supports a Chitose-focused setup or a dual-damage arrangement |
Teresa Main With Donna and Freesia
Teresa leading the team lets you concentrate investment on Donna’s damage. Use True Charged Strike and Drip’s Overturn as Teresa’s cores.
Prioritize Cordiality and Muddy Engulf, followed closely by Unbreaking Bond. Magic Sword Smack increases the whole team’s break efficiency; its practical value depends on the boss and your damage output. One point in Magic Sword Siphoning helps reduce Teresa’s skill cooldown and supports energy generation.
Guardsman’s Blessing needs one point in Restarting to function properly. Its shield reapplication interval also limits practical stacking to two stacks, so account for that when comparing it with other options.
For Freesia, use Realm of Frost and Localized Snowfall. Prioritize Winter’s Grip for its debuff. For additional personal damage, select Penetrating Chill and Ice Vortex.
Ice Vortex becomes much more valuable when multiple enemies provide stacking opportunities. Power of Redemption and one point in Blessing of Faith can further support that damage setup. Guardian’s Heart supplies another buffing option, though its value is lower.
Teresa Main With Donna and Iris
Iris offers an alternative with different positioning demands. Take Blizzard: Spread and Blizzard: Vortex, then prioritize Bundle Sale for its debuff.
Sneaky Fisher provides ATK, but Donna needs the right placement to receive it. Prolonged Winter improves its uptime. Plan around that interaction when choosing Iris: obtaining the buff takes more attention than simply activating her skill.
Chitose Main With Donna and Teresa
Use Serpent’s Glide and Mirror Image on Chitose. Prioritize Aqueous Phantasm, and take one point in Tremble and Fall. Azure Embrace has a slight advantage over her other lower-priority choices.
For support Teresa, switch to Surge Immortality and Infinite to maximize buff uptime. Let Me Help is central to boosting Chitose’s auto attacks, while Shortcut Seeker benefits both Chitose and Donna.
Take one point in Isn’t it Awesome for Chitose. Further investment can favor that potential or Band-Aid Collector, depending on your damage focus. Wave Breaker is another option for burst-oriented play.
Stella Sora Donna Emblems and Runic Discs
Match emblem choices to Donna’s job in the team. A backline damage build benefits heavily from penetration and skill damage, while the level 90 choice also interacts with your other damage dealer.
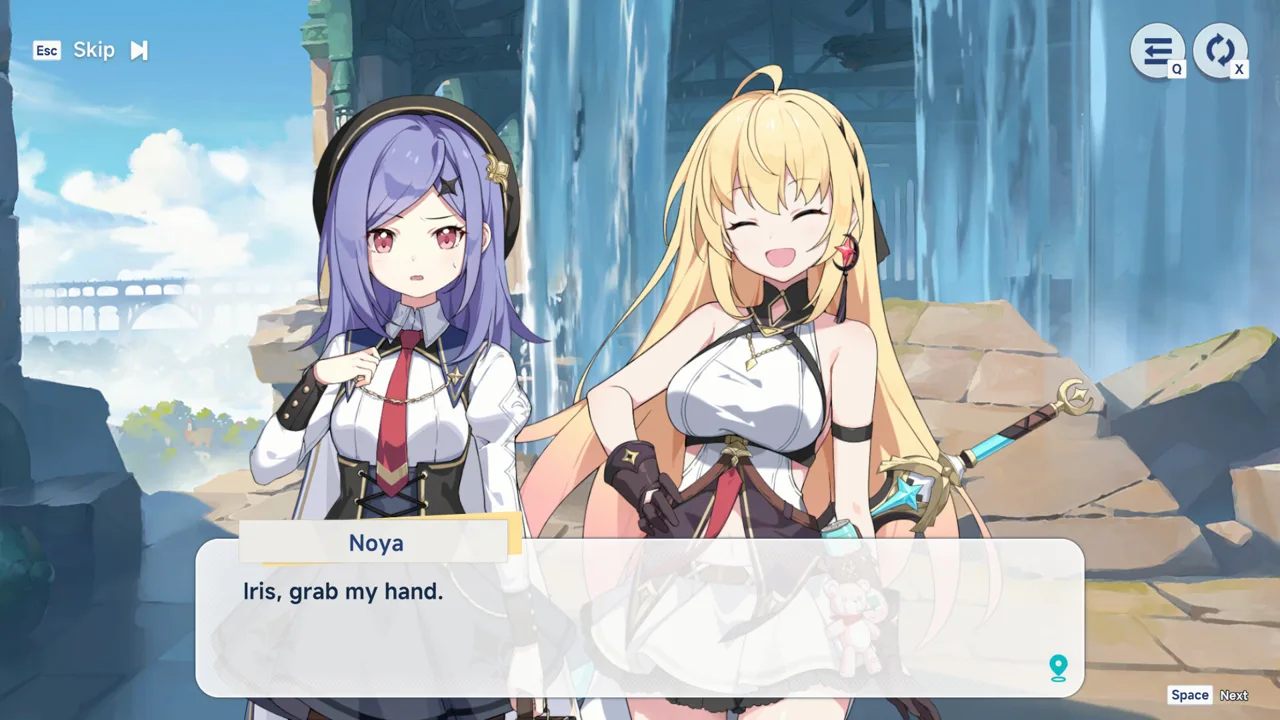 Image: Steam / YOSTAR HONG KONG LIMITED
| Emblem level | Priority | Selection detail |
|---|---|---|
| 70 and 80 | PEN | Strong priority for personal damage |
| 70 and 80 | Support skill +3 | Slightly behind PEN |
| 70 and 80 | Skill damage | Powerful, accessible option |
| 70 and 80 | Crit rate and element damage | Follow the higher-priority options |
| 90 | Arrow Pursuit | Leading choice for Donna’s personal damage |
| 90 | Aquatic Assault | Next personal-damage priority |
| 90 | Frostbitten Arrow | Gains value with an invested Freesia stacking Ice Vortex |
With Freesia dealing substantial Ice Vortex damage against groups, give Frostbitten Arrow more consideration. The choice changes because more team damage comes from Freesia in those encounters.
For discs, the comparisons below apply at Harmony level 1.
| Runic Disc | Relevant benefit or comparison |
|---|---|
| Soaring Blue | Offers type-based increased damage taken |
| Sunlit Blossom | Similar isolated value to Soaring Blue |
| Sword Against Stream | Similar isolated value to Soaring Blue |
| Steam Syndrome | ★4 option offering up to 31% skill damage when its conditions are maintained |
Sunlit Blossom and Sword Against Stream remain strong alternatives, even though the absence of mark triggers reduces part of their Melody value in this setup.
Soaring Blue’s increased damage-taken effect retains value as skill damage bonuses accumulate. The alternatives face more diminishing returns from stacking skill damage.
Consider Steam Syndrome when comparing your available discs. Its conditional skill damage bonus makes it competitive with higher-rarity options. Maintain its conditions to obtain that value.
For support disc slots, off-element event discs sit slightly behind baseline Aqua ★5 discs. Compare those available options before assuming every slot needs a limited Aqua disc.
Skill Timing and Positioning Tips
A Stella Sora Donna build needs coordinated debuffs to get full value from her barrage. Set up the enemy first, then release Donna’s skill.
With Teresa leading, follow this sequence:
- Use Teresa’s skills regularly. Generate energy and maintain Cordiality stacks.
- Watch Donna’s cooldown. When her skill is nearly ready, align Teresa’s second skill phase with it.
- Apply Freesia’s debuffs. Allow roughly a second for her skill to connect before activating Donna.
- Line up multiple targets. Against additional enemies, aim for a clear shot through three targets to gain Aquatic Assault stacks.
Freesia’s cooldown naturally aligns with Donna’s, but the hit timing still matters. Activating both immediately can send Donna’s damage out before Freesia’s debuffs land.
With Iris, hold her skill to align it with Donna’s damage window. Stand near a wall to influence Donna’s spawning position and help her receive Sneaky Fisher’s ATK buff.
Potential selection and positioning should support the same plan. Against a lone boss, prioritize Donna’s strong single-target investments. When additional enemies appear, use their positions to improve Aquatic Assault coverage and Freesia’s Ice Vortex value.
Skill notes also deserve attention in this team. The skill damage stats can justify purchases even without a useful Harmony: consider a discounted five-note pack, or a 15-note pack at 50% off.
Before a fight, check the team’s Aqua requirements, the Chilling Onslaught point for Aquatic Assault, and the timing of your supporting debuffs. Those interactions directly affect how much damage Donna’s barrage delivers.
FAQ
Is Stella Sora Donna a damage dealer or a support?
Donna is an Aqua Versatile Trekker with strong backline damage and support capabilities. She contributes buffs and debuffs while dealing substantial personal damage, so her damage potentials remain valuable in the support slot.
Which potentials should Donna use for single-target damage?
Start with Unleashed Arrow and Arrowfall Reckoning. Prioritize Arrow Pursuit, Frostbitten Arrow, and Aquatic Assault, taking one point in Chilling Onslaught to apply Aquatic Assault’s buff early. Water Ripple is another strong choice.
Does Donna need an all-Aqua team?
Her single-target build gains additional arrows from Aqua teammates. Her dedicated area-damage build requires the entire team to be Aqua, making element matching essential for that route.
Does Donna need Soaring Blue?
Soaring Blue provides a valuable increased damage-taken effect, but Donna has alternatives. At Harmony level 1, Sunlit Blossom and Sword Against Stream offer similar isolated value. Steam Syndrome is also competitive when you maintain its conditional skill damage bonus.
Continue with
 Stella Sora Eleanor Guide: Builds, Teams & PotentialsMaster Stella Sora Eleanor with support and main builds, team options, Potential priorities, Emblem picks, and skill timing tips for her Ventus damage kit.
More in Characters
Stella Sora Allie Guide: Builds, Teams, and Skill Tips
Master Stella Sora Allie with Skill and Mark builds, all-Aqua teams, emblem priorities, talent tips, and Bedtime Story advice to guide your next upgrades.

Stella Sora Characters: Roster, Roles, and Team Guide
Explore Stella Sora characters, their elements, combat roles, Allie's builds, and Version 2.0 banners to plan your next team and recruitment priorities.
Stella Sora Chitose Guide: Builds, Teams, and Emblems
Build Stella Sora Chitose around auto attacks with the right potentials, Teresa support, and Aqua PEN emblems. Learn her combos and upgrade priorities now.
Stella Sora Firenze Guide: Builds, Teams, and Combos
Master Stella Sora Firenze with skill and minion builds, Umbra team picks, potential priorities, emblem stats, and burst combos that make her clones count.
Join the community
Official channels for news, updates and player help: